
Kitty is a 1993 BMW R100GSPD motorcycle painted in the Alpine White/Marrakesh Red colour scheme. When I purchased it in 2005 she had travelled 119,000km. At that time the bike was almost stock standard the only additions were the BMW panniers, an extra single driving light and a Ventura bike pack.
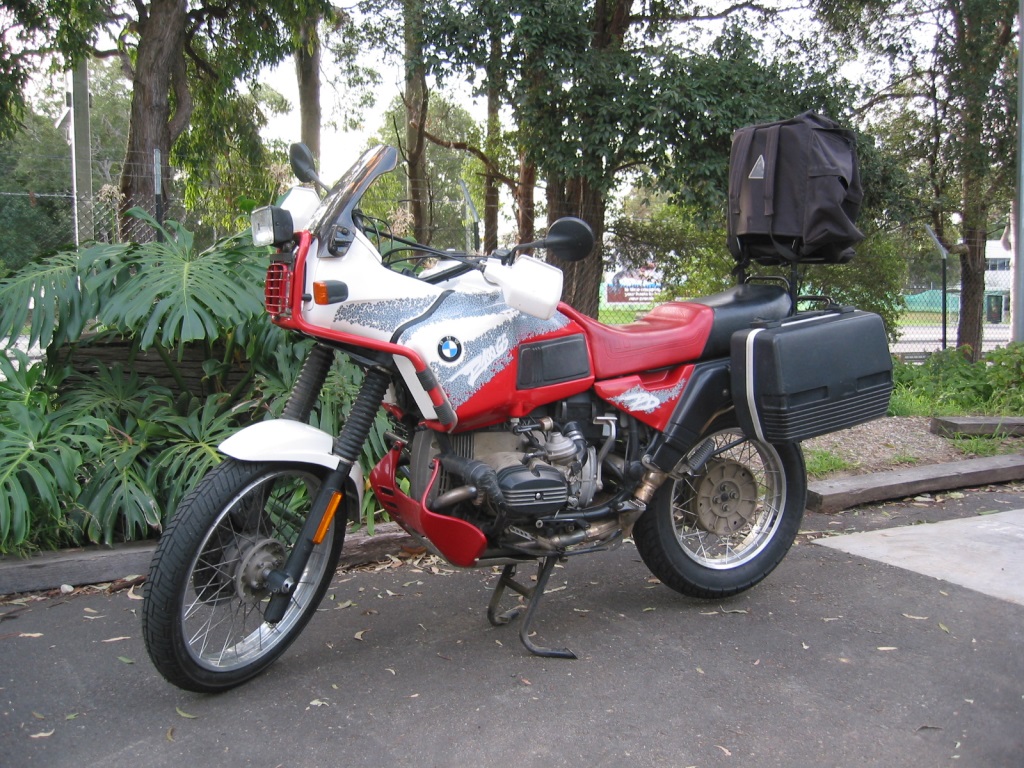
Kitty in 2005
When the Beloved first saw the bike it was stripped down into into a million pieces with bike parts on every hard surface in my flat. As she looked around the flat, surrounded by unrecognisable motorbike parts her comment was it looked like a kit bike waiting to be put together and Kitty was so named.
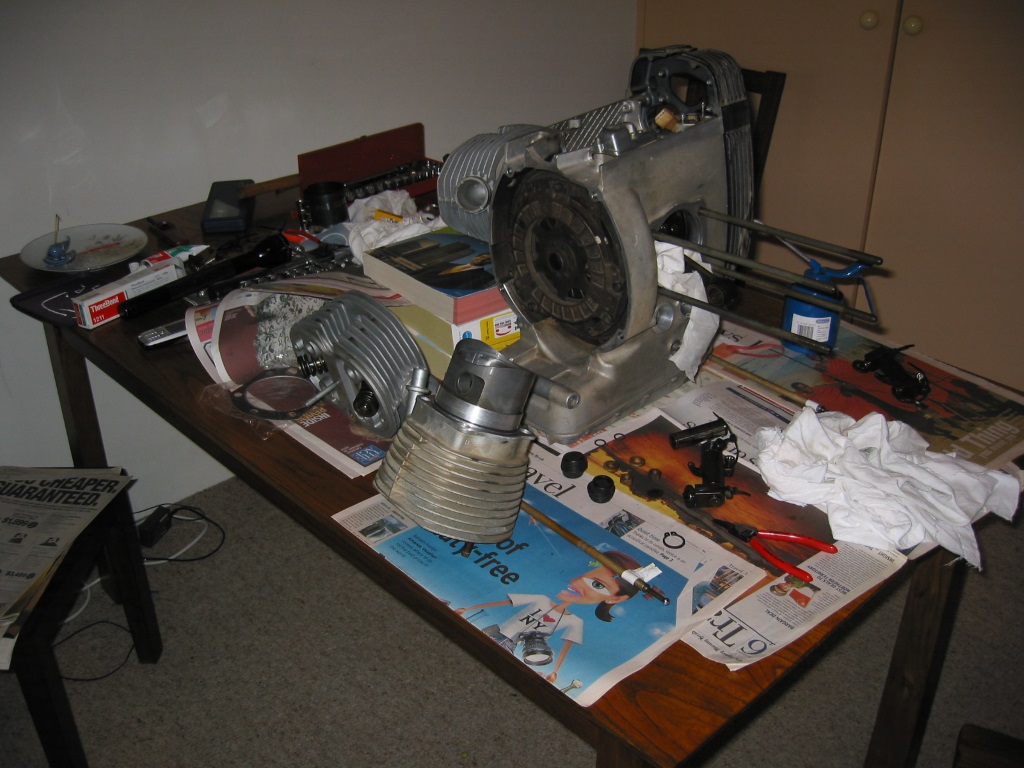
Doesn’t everyone work on their hobbies on the dinning table?

And any other place?
Since the bike was 13 years old when I bought it and from the photos shown to me by Darrol the previous owner it was actually used for the purpose that it was built for e.g. to go off road.
Considering that the PD model is no feather weight motorcycle this was quite an achievement. With that in mind I decided to completely strip the bike down to the frame and rebuild it, replacing aged and worn parts as needed and doing a few upgrades along the way. (You have no idea how much Touratech love the words “BMW” and “upgrade”.) This was going to be a learning experience for both of us.
I will pass on two pieces of advice to anyone considering to do a similar project.
Digital cameras and Glad Ziploc bags.
Take many, many photos of the bike before and during the strip down procedure and from every angle you can think of and then when you think you have enough take some more.
Then every time you remove a part, screw, washer or what ever from the bike put it in a zip lock bag and write on the bag what it is and where it came from. Make no exceptions or you will be sorry.
In two years time when you are trying to figure out which way a cable is supposed run through the frame or which bolts you need to hold the rear sub-frame onto the bike you’ll be so glad that you took the time to do these things at the beginning of the project.
As you can guess I speak from bitter experience.
On the other hand it’s amazing how you can put a complex machine back together but at the end of the project have such a large collection of “spare parts” yet everything still works like before.
As you can guess I speak from relieved experience.
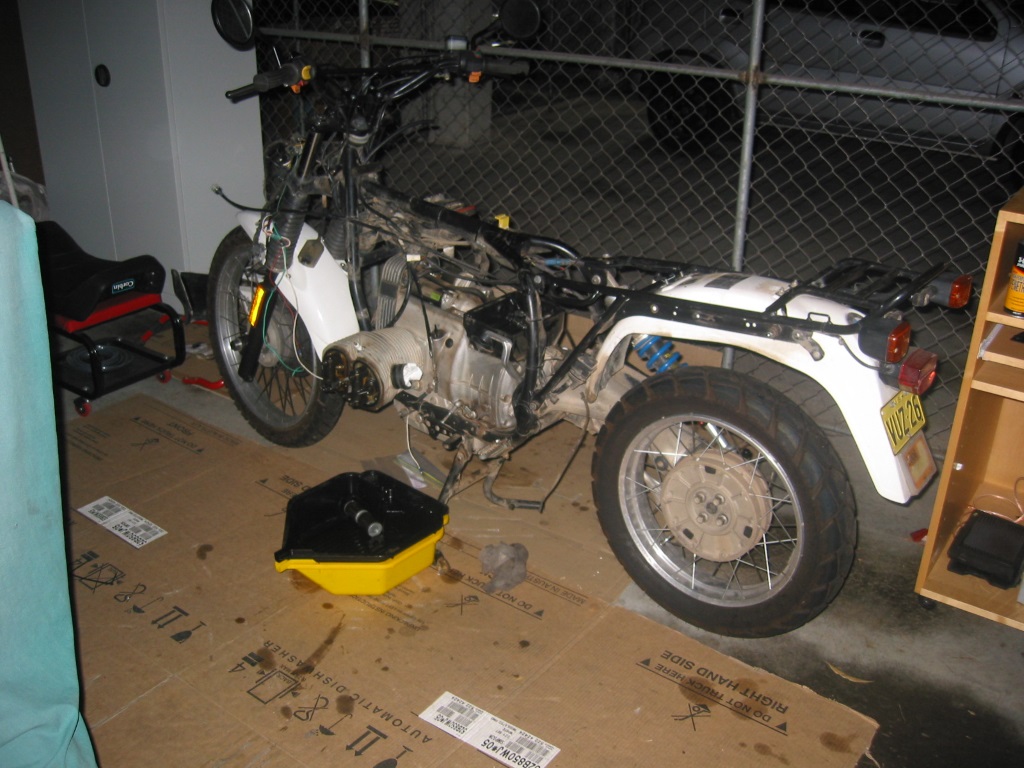
Partially disassembled
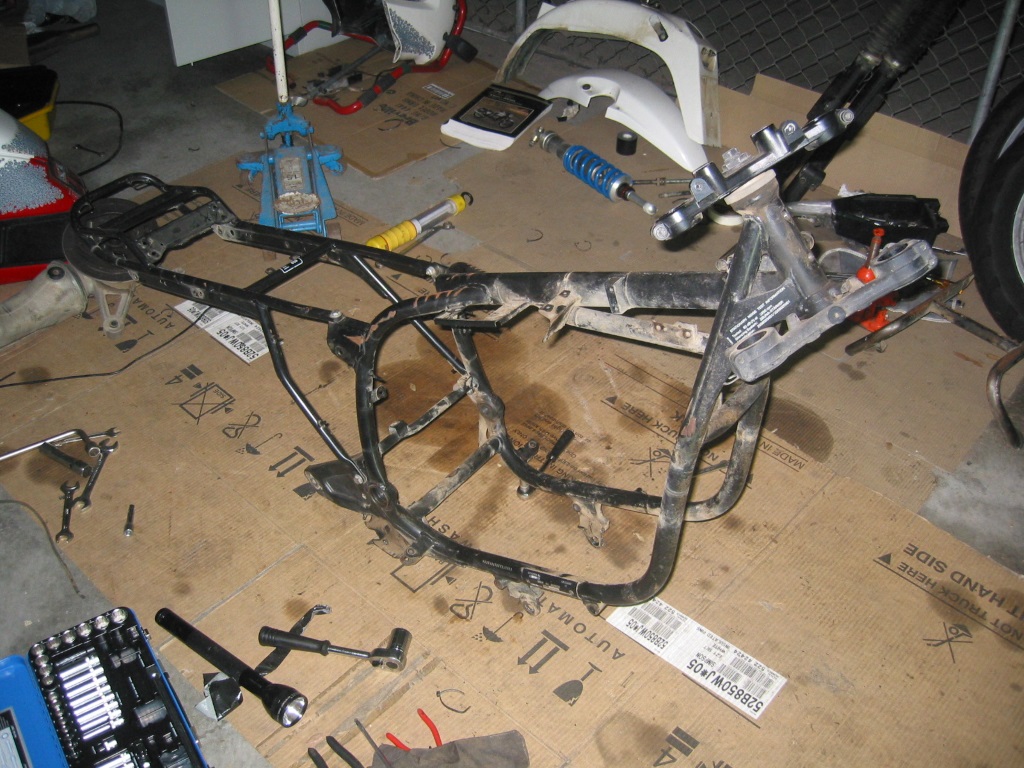
Finally down to the frame
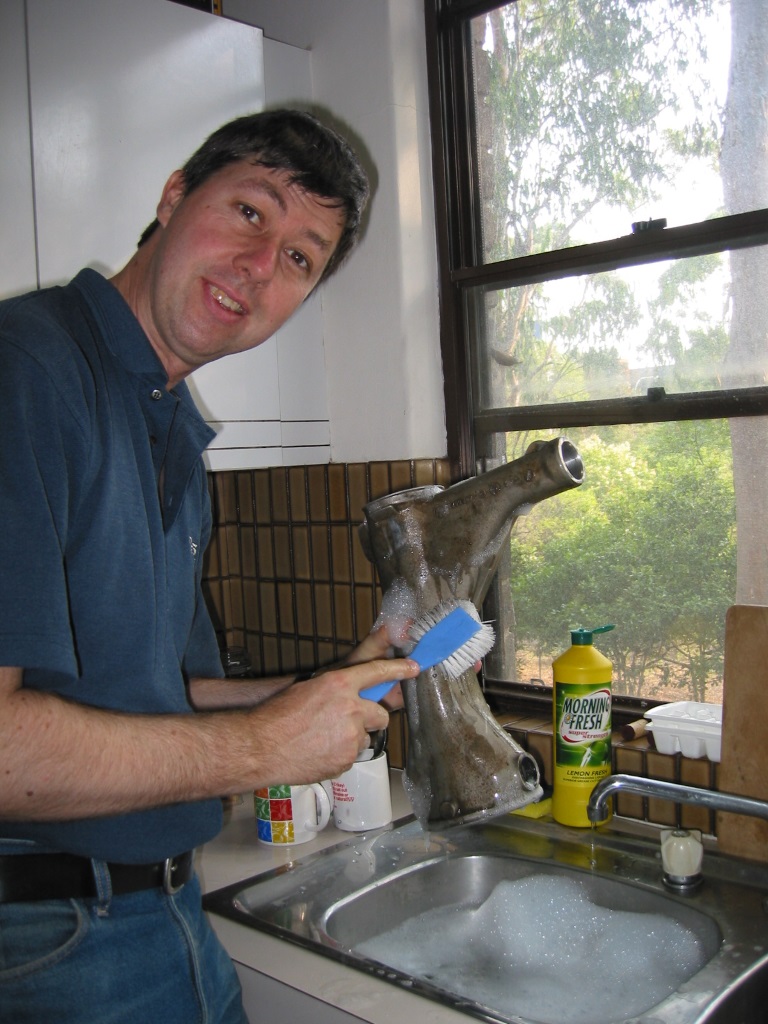
For sparkling clean swing arm housings I always use Morning Fresh, the lemon fragrance makes cleaning a joy, and keeps my hands silky smooth
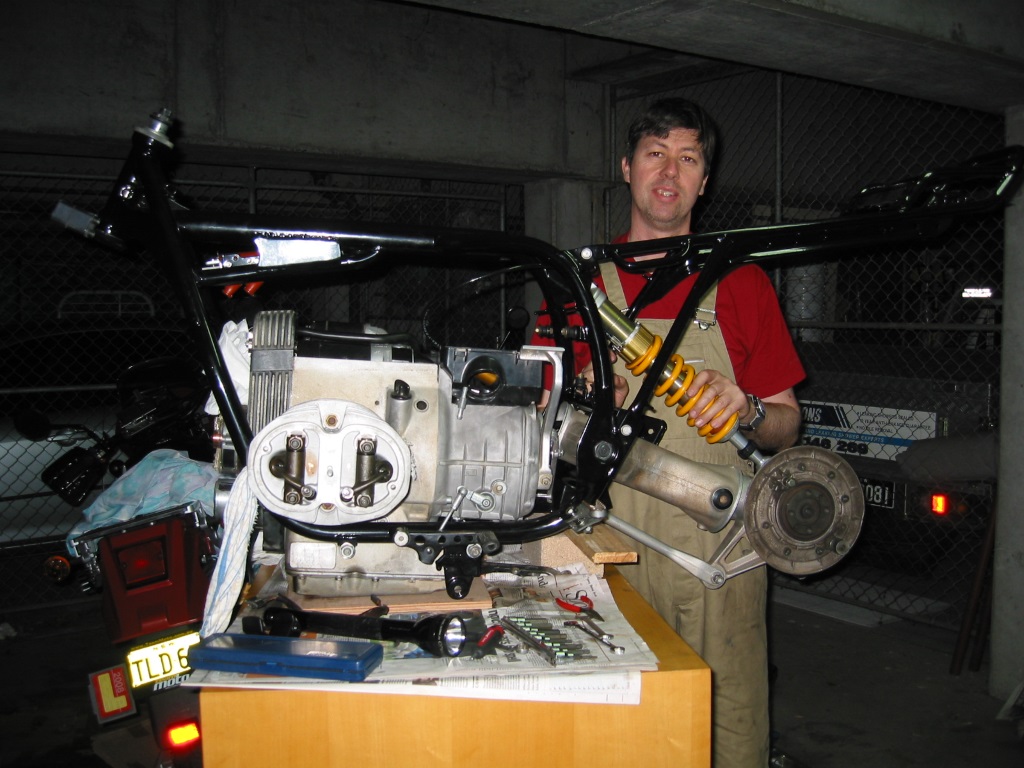
Assembly begins
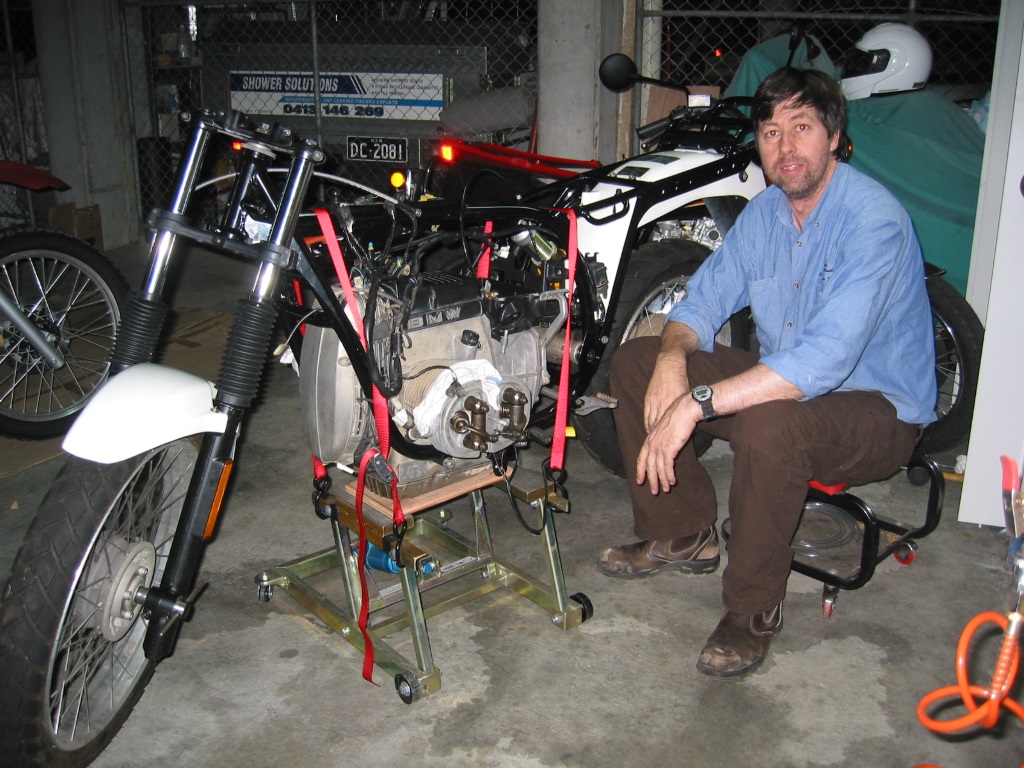
And yes I was a bit worried at times
Below is a list of all the jobs that were done:
Accelerator Cables – Replaced
Alternator – Originally I replaced the brushes and replaced the rotor as this is a known issue with these bikes and all was well, but…..
We discovered in Canada with all the electrical demand on the system the original alternator was not up to the job so I installed an Omega Alternator from Motorrad Elektrik when we got back to Seattle. While not a small job to do it’s virtually a drop-in replacement and it gave us all the electrical power we needed. I love my heated vest (almost as much as my navigator).
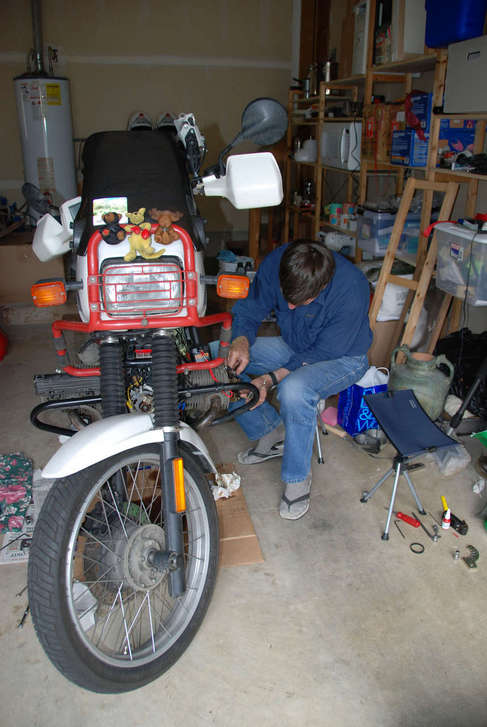
Fitting the new Alternator in Seattle, note the safety socks
Carburettors – Cleaned and rebuilt
Clutch – Replaced
Cylinder heads – Rebuilt
Drive Shaft – A known issue on these bikes is for the universal joints to fail as they only have the built-in lubrication. Munich Motorcycles change them out for a version that can be re-greased.
Final Drive – Cleaned and rebuilt
Frame – Extra reinforcing added and then powder coated; work done by Paul Rooney
Frame Head Stem Bearings – Replaced. (I was surprised that I had to replace these bearings again after only 40,000km as the steering developed a distinct notch.)
Frame Swing Arm Bearings – Replaced
Front Brake – The PD is a heavy bike and the stock brakes can only be described as just adequate. Being two up with luggage they needed to be vastly improved – a Harrison Billet Mini 6 Calliper was installed with a stainless steel braided hose and the front rotor was replaced, master cylinder cleaned and piston replaced.
Fuel Hoses – Replaced
Fuel Tank Taps – Rebuilt
Gearbox – Rebuilt with changed 1st and 5th gears
Handlebar Risers – 35mm high fitted
Ignition System – Originally I replaced the existing non-standard ignition coil with a Dyna coil along with new plugs and leads; the rest of the system was left standard. A couple of weeks before shipping the bike to Chile I fitted an Alpha ignition system from Motorrad Elektrik. This is a fully electronic ignition system rather than the hybrid electronic/mechanical system originally fitted to the bike. Like the Omega alternator it’s virtually a drop-in replacement.
Rear Wheel – While we were away the spokes started to loosen and BMW do not repair the cross spoke wheels, they only replace them. I was lucky that I was able to send it to Woodys Wheel Works in the USA as they are one of few companies that will do repairs. Stainless steel spokes were used on the rebuild.
Rear Brake – Shoes replaced
Rear Brake Light – Replaced with an LED version
Panniers – Touratech Zega panniers fitted
Side Stand – The original side stand is located under the front of the left hand cylinder and you need to have legs as long as a giraffe with the pedal dexterity of a centipede to deploy the thing. This has been replaced with a new side stand located further back toward the rider. All I have to do now is remember to flick it up before I set off.
Starter Motor – Another weak point on this later generation of airhead motorcycle is the Valeo starter motor which has a tendency for the glue holding the magnets to fail. While Kitty has a kick start I really want a working starter motor. I ended up installing a Nippondenso starter from Motorrad Elektrik as they seem to have a good reputation for reliability.
Tank Bag – Touratech VP45 tank bag with panniers
Timing Chain – Replaced
Top Box – Givi 35lt Monolock top box fitted
Looking back on all the work that was done on Kitty you might be thinking that for the time and cost it would have been better to buy a new bike and enjoy all the modern features and reliability available straight from the showroom floor. More than once through the build I thought the same thing.
Broadly the two schools of thought in selecting a motorbike for overland travel is to either buy a modern new bike and trust in the reliability of its newness or use an older bike and be willing to spend the time to prepare it for a new lease of life.
Neither school of thought is necessarily better, or wrong, and both ways have their advantages, and disadvantages and no bike is perfect. The choice of overland bike is partly defined by the type of trip, riding style, rider attributes and many other factors, some practical, some personal. In our case I decided to go old school (with a few modern upgrades) and Kitty is the result.
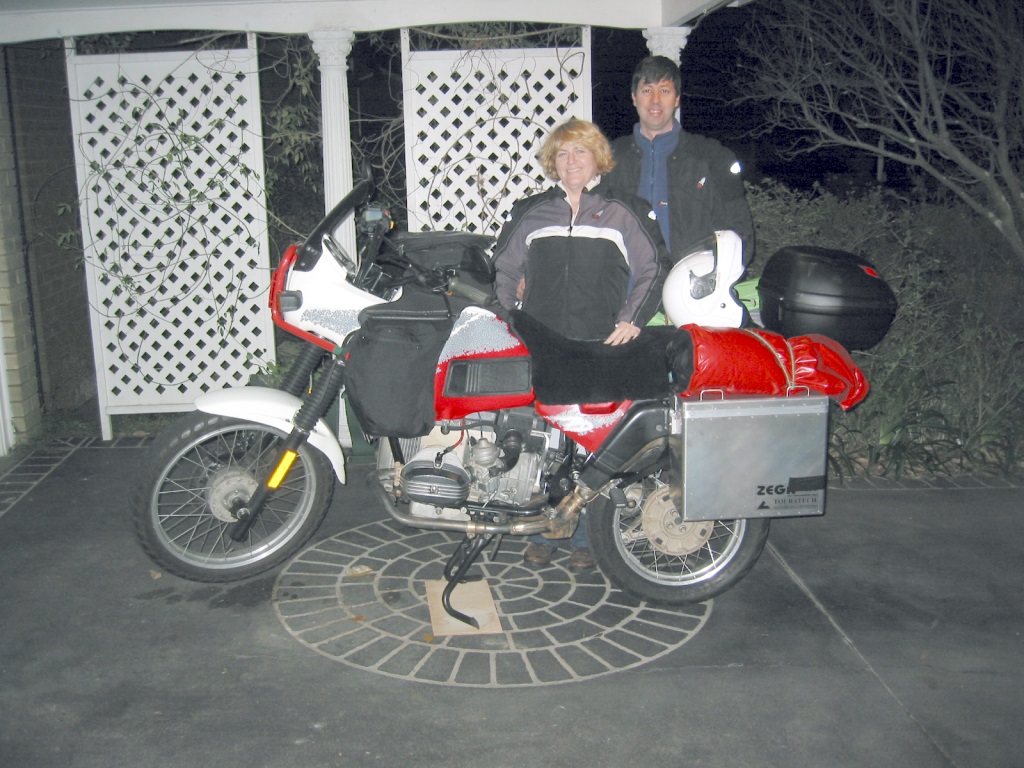
Rebuilt and packed for the first time, our first ride post the rebuild

Then crated for shipping the next day